January 26 How To Connect A Raymarine Tillerpilot to a Windpilot Pacific (TRIAL)
Why I need to connect my autopilot to my windpilot
I am trying to use my Windpilot Pacific to help my autopilot. My sailboat KARL weighs about 8.5t and my Raymarine tillerpilot ST1000 is made for a displacement of around 3t. You can make the maths pretty easily and figure out that it is not quite strong enough. Many times, the ram had seized for that reason and lots of time, it just would not work at all. Of course I could buy a new one, a bigger one…and the strongest I found so far was for a displacement of around 6t. But really, I have one and I don’t really want to spend money on a new one, so I investigated a little bit to find a solution that would work with what I already have on board.
After a while I came across some people who had connected their tillerpilot to their windvanes to reduce the needed force to move the tiller. Hm, sounded promising…and cheap! And on the Windpilot website, they also talked about the possibility of doing this, so I wanted to give it a try.
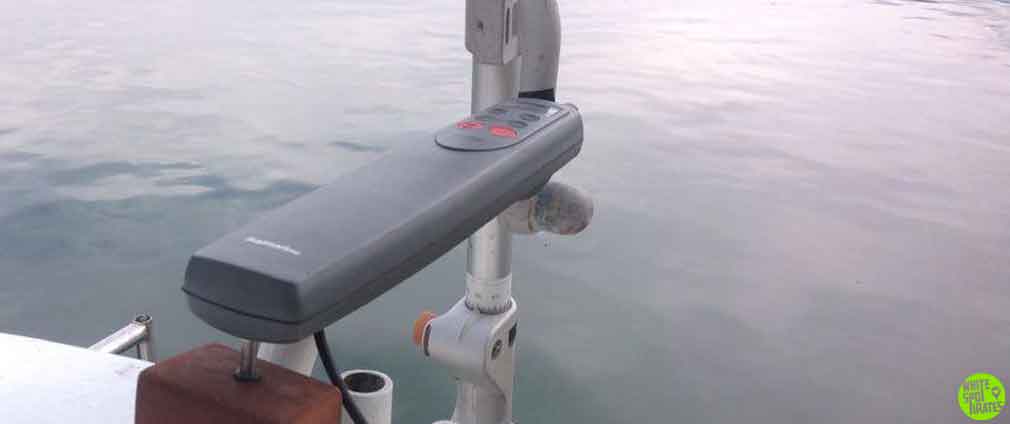
When you set the windvane to a 90° agle to the wind, the pendulum of the vane is in a position that you can easily mount the tillerpilot on your aft deck pointing straigth aft to connect the ram to the pendulum of the vane.
Mounting the autopilo to the windpilot
So all there is to do is to
a) build and mount a new block (or other construction depending on your setup) to mount the pilot
b) build a connection between the tiller ram and the pendulum of the vane
c) if necessary, move the power plug to a different position.
Luckily, I have a big aft cabin where I can store many many little treasures. So I crawled into my so called “midget hole” and looked for someting suitable to build a new mount. And it did not take long and I found what I was looking for:

After a bit of grinding, filling up some spots with epoxi and drilling a hole for the foot of the tillerpilot, it was done. Fairly easy.
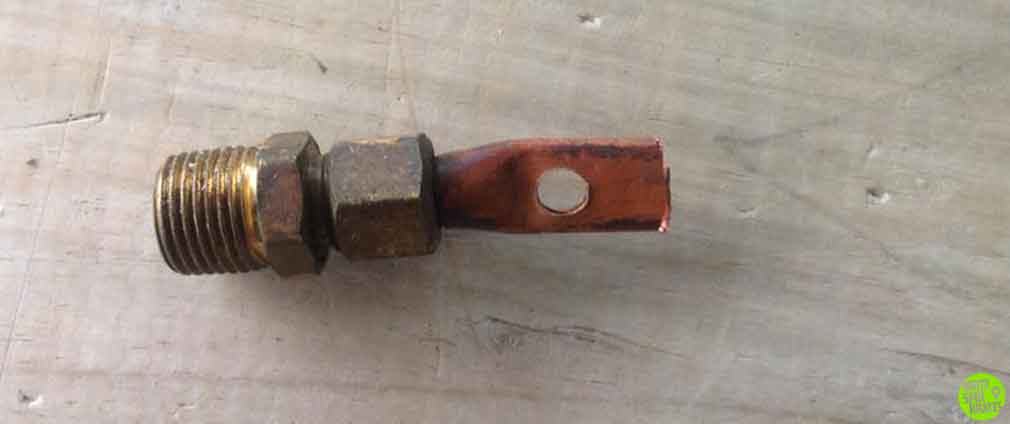
The next part was a tiny bit more tricky, but like so often, I was lucky and found a solution that was mounted on an old pilot that was lying around. They had used a pipe fitting with a copper tube. So all I had to do was to remodel that a little bit so it would suit my needs. Perfect! The only thing I am wondering is, if the copper will be strong enough. Maybe a hydraulic fitting might be better? I will keep my eyes open for one along the way. For now, the copper tube will have to do the job…
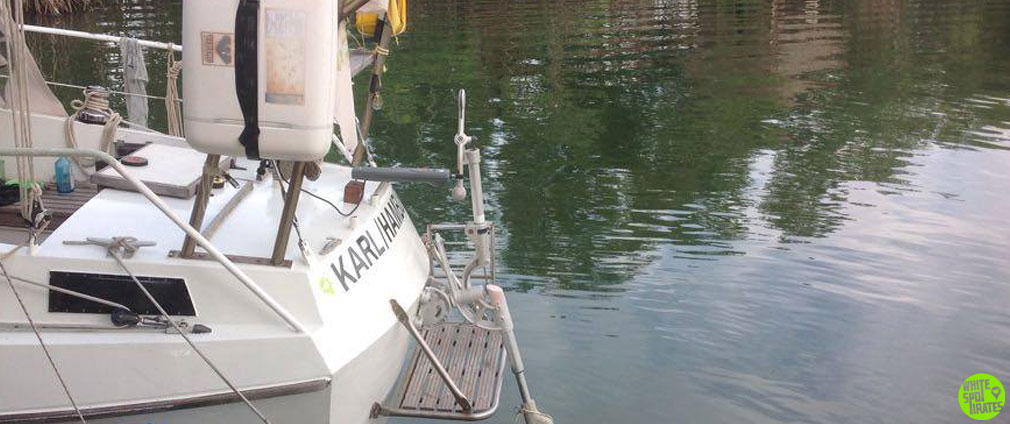
Testing the new construction
The new construction is mounted on KARL’s aft deck and connected to the windvane. And the first test on the dock went pretty well…The other thing that I am a bit worried about is wheather this construction might possibly damage my preciouos windvane (don’t tell my tillerpilot, but I pay WAY more homage to my windvane than to my tillerpilot…). That’s why I did this little video to ask Peter Foerthmann from Windpilot for advice before I go crazy with this new construciton. Let’s see what he sais.
All there is left to do now is to move the plug to a position where I can plug it in from both mounts (the “normal” position and the windvane position) and to go out on the water to try it. Wish me luck! I will keep you posted on the results.
Ahoy, Nike & Karl
Brilliant. Let me know how it works.
Ahoy-Hoy Nike,
shouldn’t damage the windpilot if:
1. the pendulum is protected from physical damage and stray electrical currents where the ram is attached.
2. the windpilot is securely locked to prevent it turning – if the ram were allowed to push the pendulum “sideways” that could cause damage.
A clamp that can quickly fix the ram to the pendulum in different positions would let you choose the best compromise between power and sensitivity.
Guessing you might be able to fix the ram as close as 50mm to the pendulum’s pivot point without straining anything.
Ball & socket joints at both ends of the ram might be best.
Good luck!
Thank you, David, for the advice!
I have the same Raymarine T1000 autopilot. Inside is a belt with notches on it that move the arm. If you strip even one of these notches the T1000 had problems. I found a source where you can buy replacements if you need them. I mention this in case you end up having issues with the belt. It is likely that your larger boat will eventually strip the belt.
This is absolute genius! Leave it to a woman to figure out the best way to manipulate something! My congratulatioins. I’m already looking at how I can do the same thing on my boat. My autopilot sits on the seat in order to align to the proper place on the tiller handle, taking up precious cockpit seating area. Also, I can’t put down the cushion when using the autopilot. This solves both those problems. Well done! I have watched all your videos now and it’s amazing what you do my hats off to you Nike, I love you adventurous spirit and can do attitude. You are a real inspiration to me. I can’t believe all you have over come! God Bless and Good Sailing!!! Bill